.png)
Edging Flower Beds: Tips for a Polished Garden Look
- Galaad Yard Care Team

- Jan 6
- 3 min read
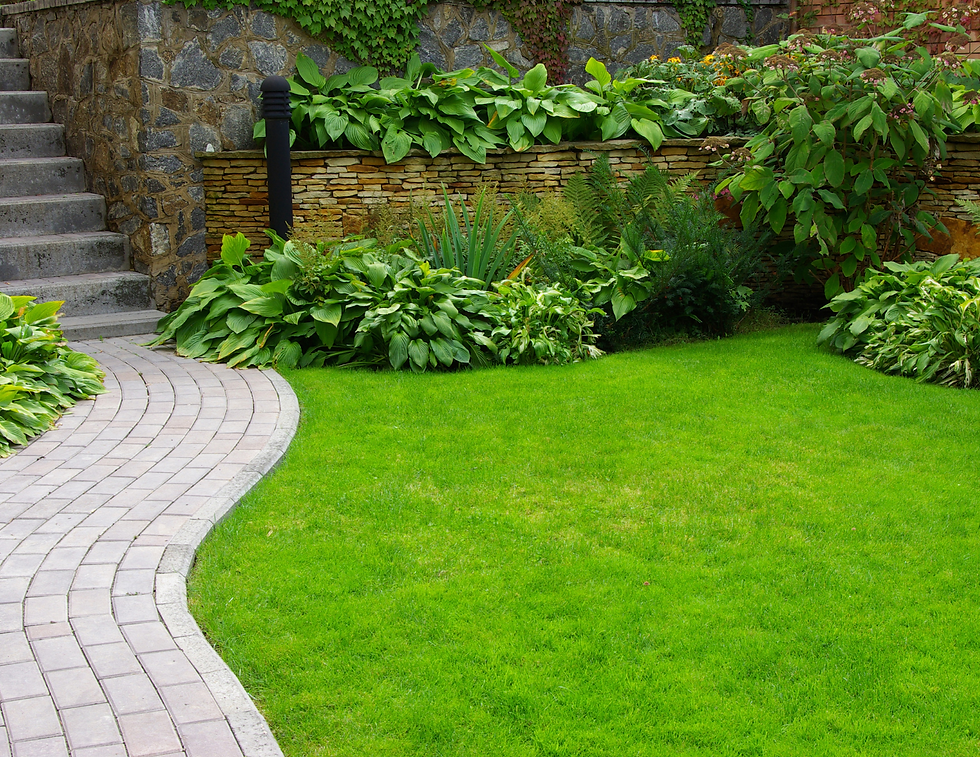
A beautifully edged flower bed is more than just a tidy boundary; it’s the finishing touch that transforms your garden from good to stunning. Edging defines spaces, keeps mulch in place, and gives your landscape a clean, professional appearance. Whether a seasoned gardener or a weekend warrior, learning the art of edging flower beds can elevate your outdoor space. Here's everything you need to know to create crisp, clean edges that will impress any passerby.
Why Edge Flower Beds?
Edging isn’t just about aesthetics; it offers practical benefits, too:
Prevents Overgrowth: It keeps grass and weeds from creeping into your flower beds.
Improves Maintenance: Clear boundaries make mowing and trimming easier.
Enhances Mulch Retention: A well-defined edge helps keep mulch in place, reducing mess.
Adds Curb Appeal: Neatly edged beds make your garden look polished and well-maintained.
Tools You’ll Need
The right tools make all the difference when edging your flower beds:
Edging Shovel or Spade: A flat-edged shovel is perfect for cutting clean lines.
Garden Hose or String: Use this to mark the edge lines for curved beds.
Edger Tool: A half-moon edger or a powered edge trimmer can save time for larger projects.
Rake: For smoothing soil and removing debris.
Wheelbarrow: To transport soil or excess sod.
Gloves and Knee Pads: Protect your hands and knees during the process.
Step-by-Step Guide to Edging Flower Beds
1. Plan Your Design
Decide on the shape and style of your flower bed edges. Straight lines provide a formal look, while curves offer a more natural, flowing aesthetic. Use a garden hose or stakes with string to outline your desired shape.
2. Mark the Edges
Once you’re satisfied with the design, mark the edges clearly. Sprinkle flour or use a spray chalk to create a visible line for digging.
3. Cut the Edge
Using an edging shovel or spade, cut along your marked line. Push the tool into the soil at a slight angle (about 45 degrees) to create a defined trench. Remove any grass or sod along the edge.
4. Remove Debris
Use a rake to clear out loose soil, grass, or weeds from the trench. This step is crucial for achieving a clean, professional look.
5. Fine-Tune the Edge
For a sharp finish, go over the edge again with your spade or edger tool. Ensure the trench is consistent in depth and width.
6. Mulch and Finish
Fill the bed with fresh mulch, pulling it slightly back from the edge to highlight the clean lines. If desired, add a physical edging material such as stone, brick, or metal to maintain the boundaries.
Pro Tips for Perfect Edging
Edge Regularly: Maintain edges every few weeks to prevent grass from encroaching and to keep the lines sharp.
Consider Materials: For a long-lasting edge, consider installing permanent borders like pavers, metal strips, or plastic edging.
Work After Rain: Slightly moist soil is easier to work with than dry, compacted ground.
Take Your Time: Edging is detail-oriented work, so go slow to ensure precision.
Creative Edging Ideas
Looking to add flair to your garden? Here are a few creative edging options:
Natural Stone: Offers a rustic, organic look.
Brick or Pavers: Creates a classic, formal appearance.
Living Edges: Use plants like low-growing thyme or boxwood for a green border.
Recycled Materials: Repurpose wine bottles, logs, or even seashells for unique edging.
Final Thoughts
Edging flower beds is a small task with big rewards. Not only does it enhance the overall appearance of your garden, but it also improves its functionality and ease of maintenance. Whether you stick with a simple trench or opt for decorative borders, well-defined edges are the hallmark of a thoughtfully curated landscape.
So grab your tools, plan your design, and start edging your way to a more beautiful garden today! Your flower beds—and your neighbors—will thank you. (By GYCS)


Comments